Whether for your next event or party, a flower crown enhances the appeal of its user through the beauty of its flowers and parts. Learn today how to make a flower crown with real flowers on wire.
Hi, my name is Bisli Vazquez and today we will be discussing how to make a flower crown. We will be covering this step by step thoroughly to illustrate the process better.
We will be learning how to envision your design, what supplies and tools you will need to purchase, and finally arranging the crown. Altogether it should take up 40 minutes to an hour and a half to finish with the proper preparation.
By the end of this article you will be well prepared to know how to make a DIY flower crown for your flower girl or any other event party goer.
Use this guide on making a flower crown for
- Your Bridal shower
- Birthday
- Pictures
- Haloween Costumes
- Valentine’s Day
- Flower girl
Table of Contents
ToggleHow To Envision Your Flower Crown Design
First, you will want to know what you are designing before you dive into purchasing supplies and forming the crown. Ask yourself, what kind of flowers do I want in my design.
Explore your options of the types of flowers you want to put on your crown. They can either be Roses, Baby’s Breath, Sweet peas, or among many other choices. If you want more ideas check out my flower blog here.
Related: Read more of my blogs to learn every minuscule intricacy of artistic nuisances there are in designing perfection.
What sort of color scheme do you want when making a flower crown? How large do you want your flower crown to be? Do you want to add greenery?

Will your design look better if you alternate colors or use some particular assortment of colors? Will adding props like plastic butterflies add to your flower crown’s appeal? Once you have envisioned your finished design, then we can move forward to the next step.
How to Choose Your Flowers
To more effectively bring out the beauty of your design you will need to know what variation of flowers you will need. Some types of flowers come in many colors, bi-color, and some that only come in one color.
It is essential to keep this in mind to know the best flowers for your arrangement. Every flower is unique. The Dahlia flower does not resemble the Rose.
See More:
How To Make A Flower Crown With Real Flowers On Wire In 4 Easy Steps
Bridal Bouquet Guide To Wedding | 7 Bouquet Styles | Complete Guide
How To Make A Flower Wall DIY Step By Step In 4 Simple Steps
However, putting some different types of flowers together makes a powerful, beautiful statement in your design. When choosing your greenery, keep in mind the shape of the foliage and its size. Be careful to take time to choose the right greenery. Make sure your choice fits the vision you have for your flower crown.

Tools and Supplies
Before we start making the flower crown you have envisioned, we should discuss the tools and supplies you will need.
- Two aluminum wires with a thickness of about 1/8 inches. Make sure the wire is approximately 20–40 inches long. This wire forms the circle placed on the head of the person you intend to make it for.
- Flowers to adorn the flower crown width to increase its focal appeal and match your vision. You can use real fresh flowers, permanent botanical flowers, wax flowers, dried or wood flowers.
- Greenery to place on your flower crown if you want to give it a look that it is cascading.
- Scissors or Garden Shears to help cut the floral tape and greenery.
- Floral Tape to tape the flowers you will be using in your crown.
- Wire Cutters. This is used to cut the wire you need to put on the head of the person you are making it for.
- String. This is used to assist you in measuring the head of the person wearing your flower crown so that it will fit properly. Remember to leave 2 to 3 inches of extra space for adjustment.
After you have obtained what you need for your flower crown, then you can begin creating your own flower crown.
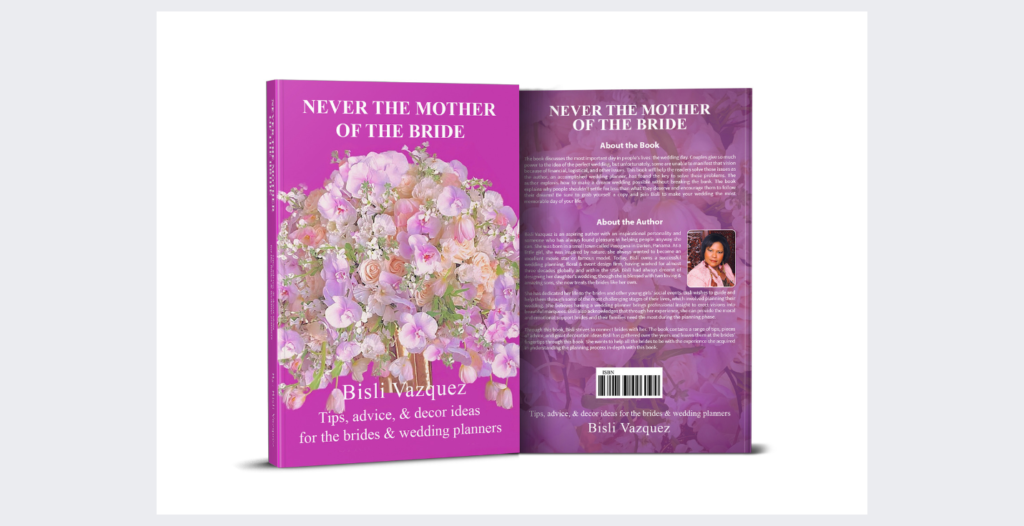
Related: My book, now on amazon, “Never The Mother Of The Bride” featuring David Tutera.
You can buy your flowers from a local farm or online. You can buy your supplies online or from any store that holds these items, such as Michaels or your favorite online store.

Arranging The Crown
Now that we have an idea of how the finished design will look and we have all of our supplies ready, we can put it all together. Now it is time to put everything together for your flower girl crown.
See More:
How To Make A Beautiful Boutonniere With Real Flowers Quick And Easy In 4 Straight Forward Steps
How To Make A Phenomenal Flower Arrangement Step By Step Quick And Easy In 6 Easy Steps
Enjoy your time making sure every intricacy of your flower crown design is taken care of so that your work can look its best when you put it on display.
- Take a piece of string and measure the head of the person who will wear the flower crown.
- Cut your flowers and greenery two to three inches from the stem. This is estimated to be around the ideal size so they can be laced upon your crown.
Be sure to remove any parts of your flower and greenery you do not want present in your flower crown. This can include dry leaves, stems, and pedals.
- Take your wire or other material and form it into a circle that overlaps itself two to four times. Be sure to measure your flower girl’s head to make sure the flower crown you are making is the right size.
You can overlap it more to give it a thicker look. Be sure to leave a 1/2 inch of wire when forming the circle with the wire. Twist the ends together to attach them.
Use floral corsage tape to complete this step by taping the ends of the flower crown’s wire together. The floral tape has a unique way of keeping all the flowers together.
This is because it has a special adhesive. When the floral tape is stretched, it releases the adhesive wax that makes it stick to itself so you can wrap the tape around the stems.
Related: My article buyer’s guide for flowers.
Remember to roll your tape around your crown two to three times to ensure it stays in place.

- For more stability over the design form, you can use floral tape to more efficiently attach the ends of your flowers to the wire of the crown.
Start placing flowers at the point where you joined the two ends of the wire and make sure they are facing towards the loop. When you reach the end of your wire, fit the last flower as close to the end as possible.
Be sure to place the florist tape near the top of the stem.
You can tape one flower at a time to your crown, or you can choose to tape several flowers at once — tape multiple flowers together to more effectively keep your flower crown in place and use your time smartly.
Remember to keep your crown lightweight, so take time when preparing your flowers and greenery.
Tip: Make sure that when you start attaching flowers that they are facing outwards, away from the joined ends.
- To help add to the thickness of the design, you can add parts of greenery together, then use florist tape to tape them to the end of the flower you just placed on the wire of the crown.
If you believe this will enhance the look, you can also cool glue the accessories to your crown, such as butterflies. If you are a ribbon lover, don’t be afraid to add it to your design.
- Continue this process, placing flowers and greenery to your crown until you are satisfied with the look. For better results, try to leave minimal parts of the wire exposed if you use designer wire.
Be sure to use lots of smaller flowers to fill in the space where you believe your design will look better. Remember that you can also cut mini branches to add to your design’s look.
Another Example | Let’s Design A Simple Crown With Spray Roses And Eucalyptus
Now that we are ready to arrange the flower crown let us discuss how to arrange your flowers and greenery to improve your design look.
Below is the most popular way to make the flower girl crown. I will give you a different idea of the mechanic and design for another crown
- Use a headband already covered with fabric
- Make sure you choose the correct size
- Cutting the flowers
- How to add the flowers to the headband
- Finishing the crown
This crown is very easy and fast to make because you already have the headband ready to glue the flowers on. You will not use wire or floral tape. This design will save you a lot of time.
The flowers we will be using are seeded eucalyptus and spray roses. Cut the seed of the eucalyptus florets very short at half an inch. Cut about 15 to 20 spray roses. Be sure to cut all the stems off.
Now let’s glue the spray roses on the headband. I use beacon fabric-tac glue because it provides a permanent bounding. Start from the center as the higher point of the crown. Glue the largest spray roses first to achieve the center form of the crown.

Don’t glue the sweetheart roses too close, because later we’ll be adding the seeded eucalyptus to the spaces between the roses.
Now that we finished gluing all the spray roses, the next step is to continue with the eucalyptus seeds. After cutting the stem as short as possible, add a drop or two of glue on the stems and place it onto the empty areas.
Repeat this step until the whole crown is covered. The following step is to put the crown on the girl’s head. If the girl is not available at this time, then you can use a mannequin head.
Related: Our flower arrangement online courses. In both English and Spanish
See if any of the fabric from the headband is visible from the front or back and cover it with seeded eucalyptus. Leave a few spray roses if needed to have a clean finish product.
Conclusion
Remember to keep it hydrated now that your flower crown is perfectly made the way you envisioned. Use a plastic container and put a double layer of paper towel and spray water onto the paper towel.
If you need an extra cushion for your flowers, add more wet paper towels to the bottom of the plastic container. Now place the crown in it and place a layer or two of paper towel already wet on top of the crown, making sure it is not heavy. Put the lid on and keep it in the refrigerator to assist in prolonging its lifetime.
Wrapping it up, now that you are confident in making your flower crown, you can experiment with the different combinations of designs you have envisioned. This instructional information will help you prepare your flower crown and put it together for your girl or another member of your event. Take your time and prepare thoroughly.
If you plan to make flower crowns for adults, make sure to use larger flowers to balance their size. You can also make oversize crowns. It all depends on your client’s request. Don’t be afraid to show your style and personality when making your own. Always remember to keep on practicing so you might stumble upon creating a masterpiece.
Related: If you are looking for event planning services and rentals, contact me at bisli@bisli.com.
About Me
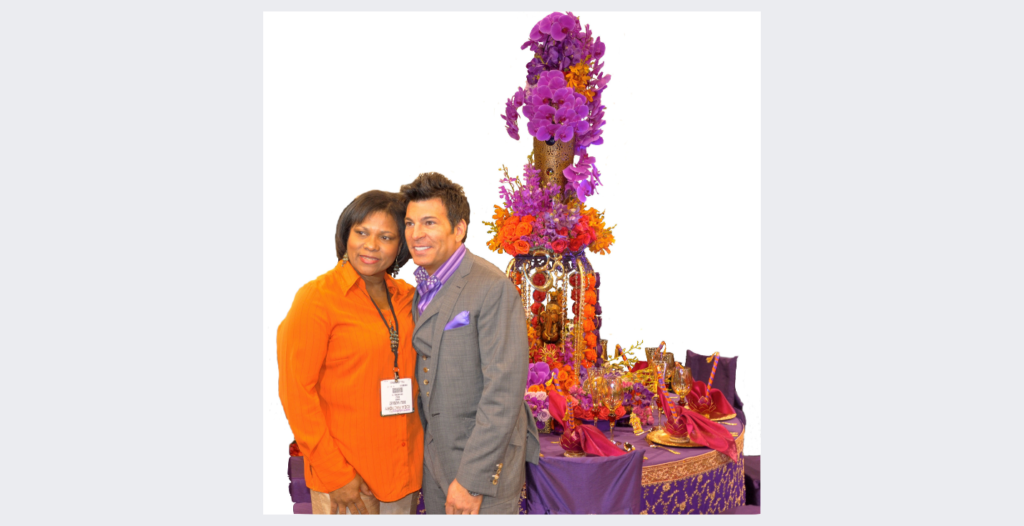
I am the CEO of an event service firm, Bisli Event Services LLC. I am also a published author of my book “Never The Mother Of The Bride”. With an introduction by the world-famous David Tutera, star of the hit show My Fair Wedding on WE Tv.
I also am the author of multiple floral arrangement decor courses online. I’ve been featured on Platinum Weddings, Top Chef on Bravo, Platinum Weddings on WETV, CNN, CNN Latino, MTV Latino, San Antonio Weddings Magazine, kens5, and The Knot.
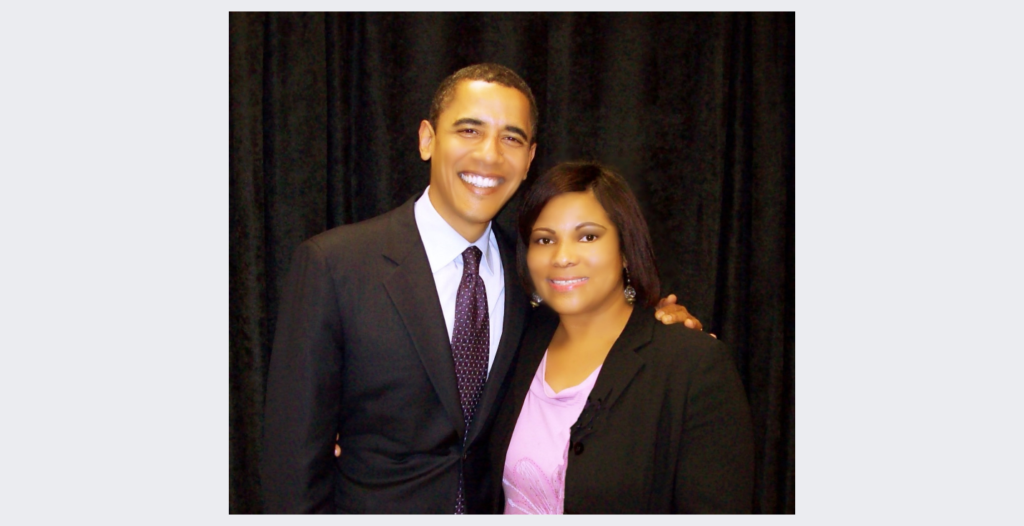
I have been a Wedding planner, floral designer, event designer, speaker, and Luxury celebrations coach for almost three decades. I have also done events for celebrities such as Barack Obama.
Thank you for checking out my blog. You will enjoy your event much more filling your time up educating yourself on the various topics surrounding event design. We have even more content for you to enjoy and learn even more tips about event design and decor.
My office is located in San Antonio Texas. If you have questions about booking please contact me at bisli@bisli.com. We offer event planning and decor services.
Best of luck to you in your event decor and planning endeavors. See you on the next blog.


